 |
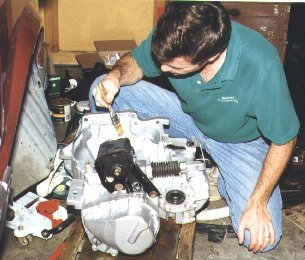
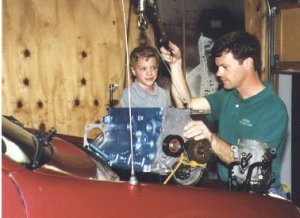
The transmission has to be clean
before it goes back! |
| |
|
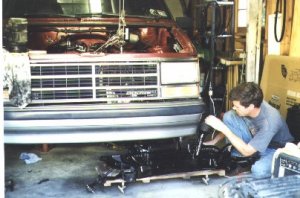
| Re-installing the front suspension |
 |
 |
I made a bracket
for the rear transmission mount and bolted it securely to
the front lip of the K frame. |
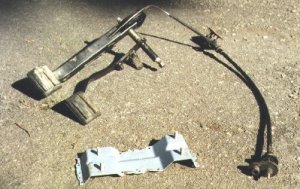
| The elusive parts necessary to
make a five speed van - clutch and brake pedals, clutch
cable, cable bracket, and shift mount bracket. Not
pictured is the plastic shifter cover trim. All
these parts have to come from a van that was built with a
5 speed box! The shifter, flywheel, and clutch are the
same as any 2.5TI car. |
 |
| |
|
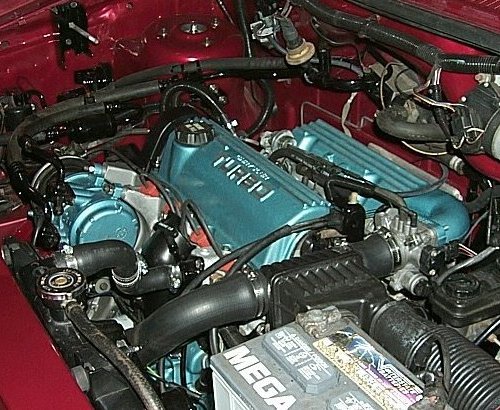
 |
The engine block finally makes it
back to the van. Next, I'll put in the larger
Garrett TII turbo and let's not forget the 3"
exhaust! |
| |
|
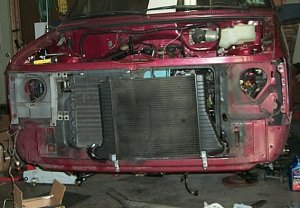
| What this van needs is a little INTERCOOLER!
This shows how I installed a Huge Volvo
intercooler in front of the radiator. I had to
remove the bumper, grille, headlights and radiator to get
this thing in. The inlet and outlet are at slightly
different levels, so the intercooler is mounted slightly
crooked to position the inlet and outlet just above the
structural box member which supports the front engine
mount. Two "L" brackets and a tie-wrap
hold the intercooler in place. Rubber isolaters
keep the intercooler from chafing against the body and AC
condenser. |
 |
| |
|
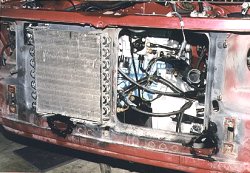 |
This picture shows how I cut holes
in the sheet metal for the intercooler tubing. There was
just barely room for the hose below the A/C condenser. |
| |
|
| The intercooler inlet piping
consists of three pieces - a radiator hose from Autozone,
a piece of metal intercooler piping from an Isuzu, and
part of the Volvo intercooler hose. Everything fits
perfectly! The hose deftly dives between the clutch
arm and the cruise control. The radiator, however,
had to be shifted 1 1/2" to the left (as viewed from
the front of the van) to clear the intercooler hose. |
 |
| |
|
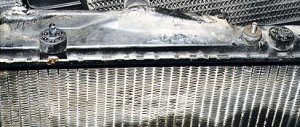 |
To move the
radiator, I relocated one mount on the radiator and
relocated the other on the body. This picture shows the
new mount (made of a bolt and washer) glued to the lower
radiator tank. |
| |
|
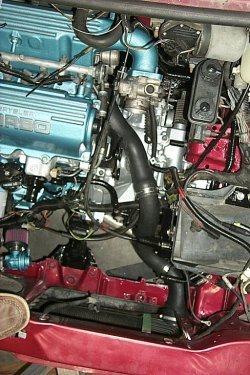
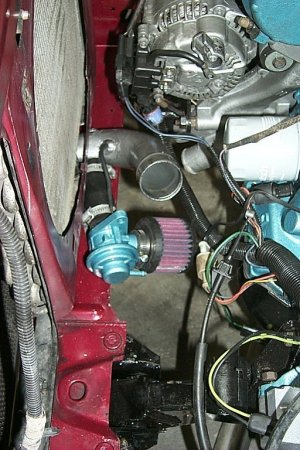
| Here is the Blow
off (or turbo bypass) valve. The valve is installed
and modified per Gus Mahon.
You can see the pipe from the intercooler outlet as it
enters the engine compartment just below the AC
condenser. Of course, the BOV is painted to match
the engine! The filter is a K&N breather
element. Gus recommeds a sock, but I did not have one
that matched the engine color :) |
 |
| |
|
