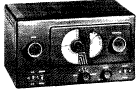
Photo courtesy of the
Hallicrafters web site
the
hallicrafters co. MODEL S-38
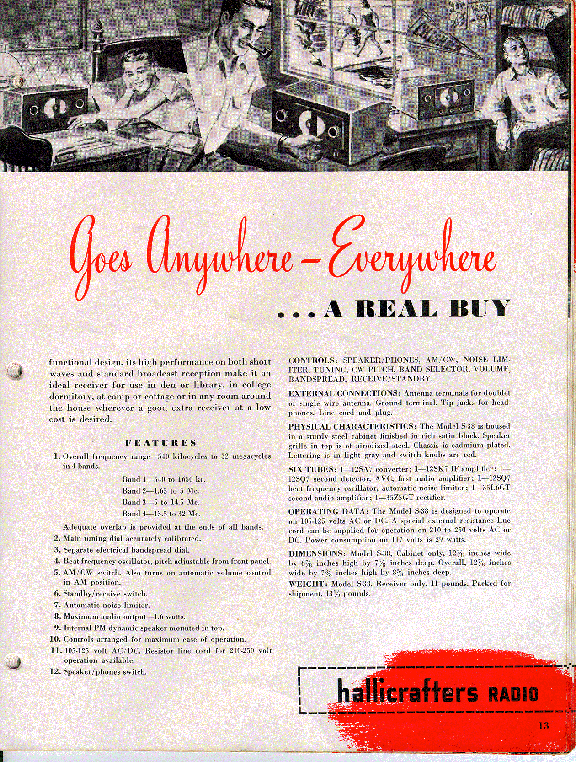
The Hallicrafters S-38 was a basic, but very
good communications receiver introduced in 1946.
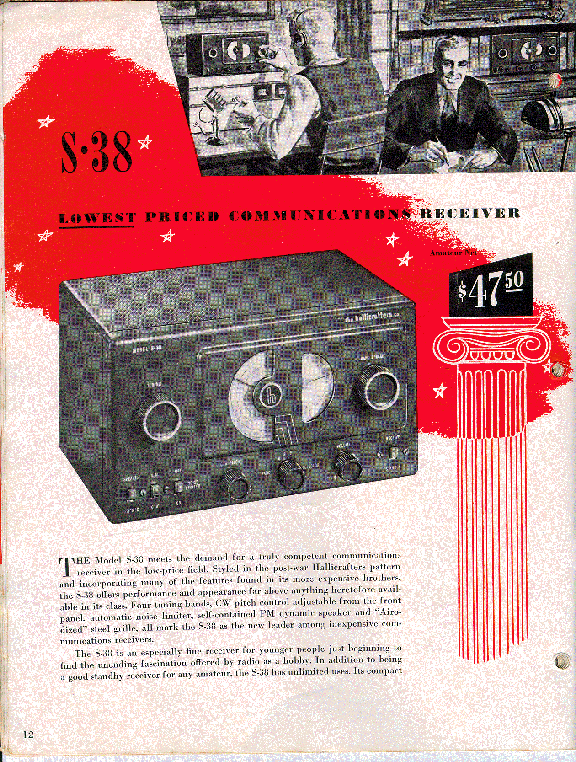
The S-38 was Hallicrafter's entry level communications
receiver, priced at $39.50 The radio
was so popular, that it was produced in several
variations and remained in production until 1961!
Famous industrial stylist Raymond Lowey designed the
cabinet used in the S-38 through S-38C. The S-38-D
and S-38E were externally restyled and bore little
resemblance to the earlier models. The S-38
contained only six tubes, but included the following
useful features:
- Electrical bandspread with
0-100 scale
- Automatic noise limiter
- Four Bands covering .54 to 30
Mhz
- Headphone terminals
- Standby switch
- Variable BFO for CW reception
(later models omitted the variable BFO, reducing
the tube count to five.)
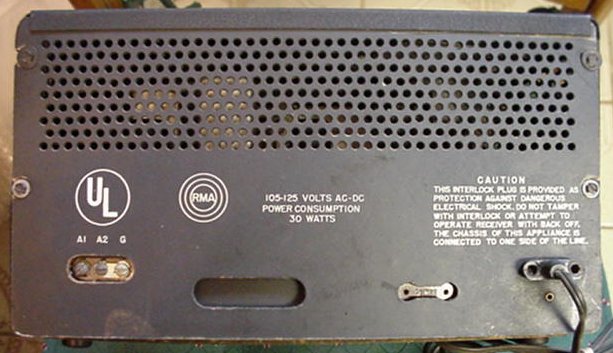
To keep the receiver price low, all
S-38s were transformerless designs. This type of
design works well, but presents dangerous shock
hazards. The safest way to operate an S-38 is to
use an isolation transformer in the AC supply to the
radio. The set can be operated safely without an
isolation transformer, but ONLY if the original back
cover, bottom cover and rubber chassis isolators are in
good condition. I'll cover the safety items in
more detail in the restoration below.
My second antique radio was an S-38
that I purchased and repaired in 1975. I enjoyed the
radio immensely and listened to many shortwave broadcasts
on this set. A few years later, I gave the set to a good
friend. For a number of years, I have considered buying
another S-38. I finally purchased one again on March 23,
2001.
top of page
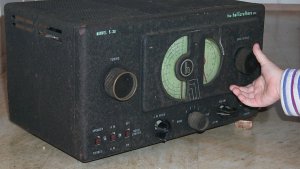 |
Here is my S-38 as I
found it at the Southeastern Antique Wireless Association
meet. It's dirty, and some of the original knobs
are missing or broken (along with the cardboard back),
but it's restorable without too much effort. |
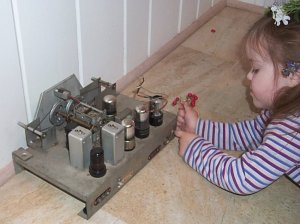
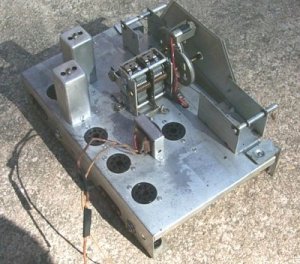
| A picture of the
chassis - minor corrosion, but complete. |
 |
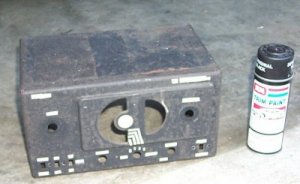 |
I prefer to leave an
original finish on a radio whenever possible, so I
cleaned the cabinet in hopes of making the original
wrinkle finish paint look good. The cleaning
removed a lot of dirt, but it still did not look too
great. I decided to very lightly overspray the
black wrinkle paint to restore the original color.
I did not want to re-letter the front panel, so I taped
over the markings. |
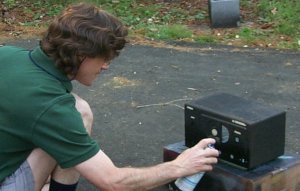
| Spraying
the paint. As you can see, I'm using my custom random
draft paint booth. |
 |
 |
I used naval jelly to
remove the corrosion on the chassis. I don't like
using these chemicals on radios, but I have not found a
better method to completely remove rust. A damp
sponge removed most of the naval jelly residue. I
removed the remainder of the corrosive chemicals with
carburetor cleaner. The carb cleaner flushed the
naval jelly out of the crevices and off of the underside
of the chassis. When the chassis was dry, I applied a
coat of satin lacquer to prevent corrosion. |
| Here is the rubber
isolator that keeps line voltage off the cabinet.
There are four isolators, one on each corner. These
MUST be replaced properly if the radio is going to be
operated without an isolation transformer. The rear
isolators are easy to replace - just pull the old one out
and install a new grommet of the same size. The
front isolators are riveted in. I had to drill out
the old rivet and use care not to loose the little metal
piece that fits into the isolator. |
 |
 |
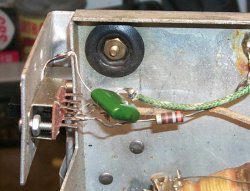
The chassis and switch
assembly with the rubber isolator removed. |
| I re-installed the
isolator and switch brackets using a small nut, bolt and
washer. A drop of locktite keeps the assembly
secure. |
 |
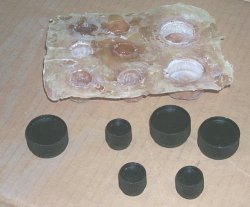 |
My first attempt at
making replacement knobs. I used latex molding
compound (purchased at a local craft store) and polyester
resin (purchased at autozone). These knobs were
only fair. These knobs will not pass a close
inspection. I began to search the internet for
pages on molding and casting. |
| I'm fixing the radio Dad! |
 |
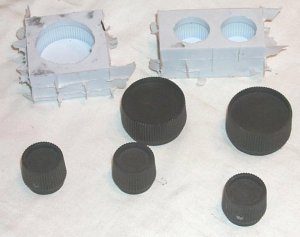 |
New knobs and molds
made with RTV and cast in polyurethane. These knobs
really look like the originals! |
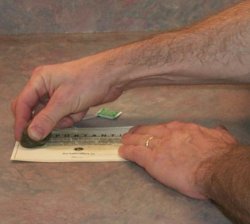
| "Aging" the new bottom label with
a used tea bag. . |
 |
 |
I installed the new label on the
cardboard bottom. Look closely and you will see the
stains. I created the label in a word processor. I
scanned in the "h" from the front of the S-38
and edited it to create the proper logo for the label.
The label looks almost the same as the original. I have
not yet found a font that exactly duplicates the
hallicrafters font. |
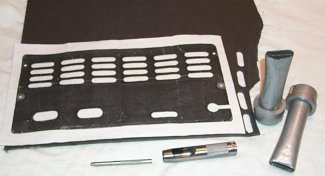
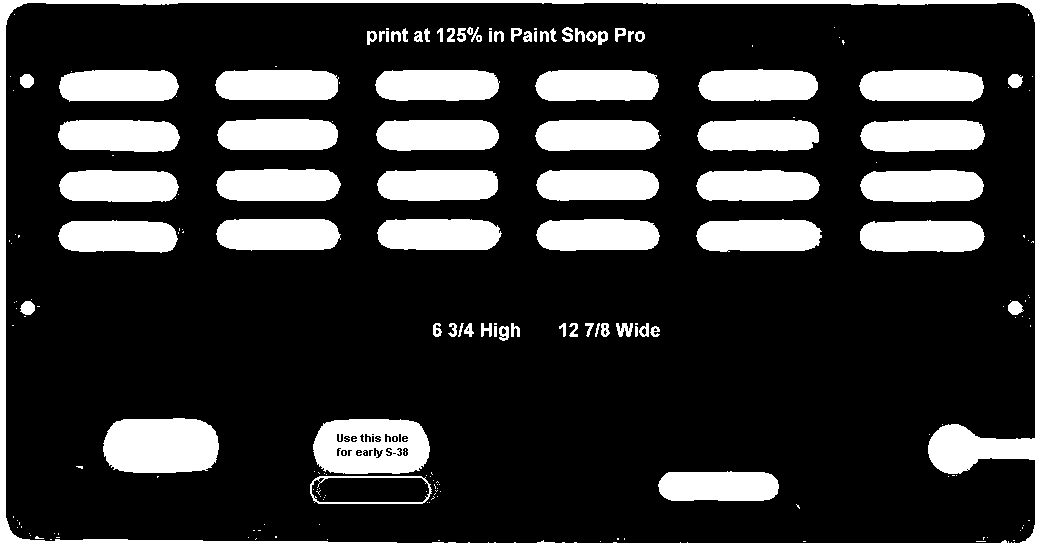
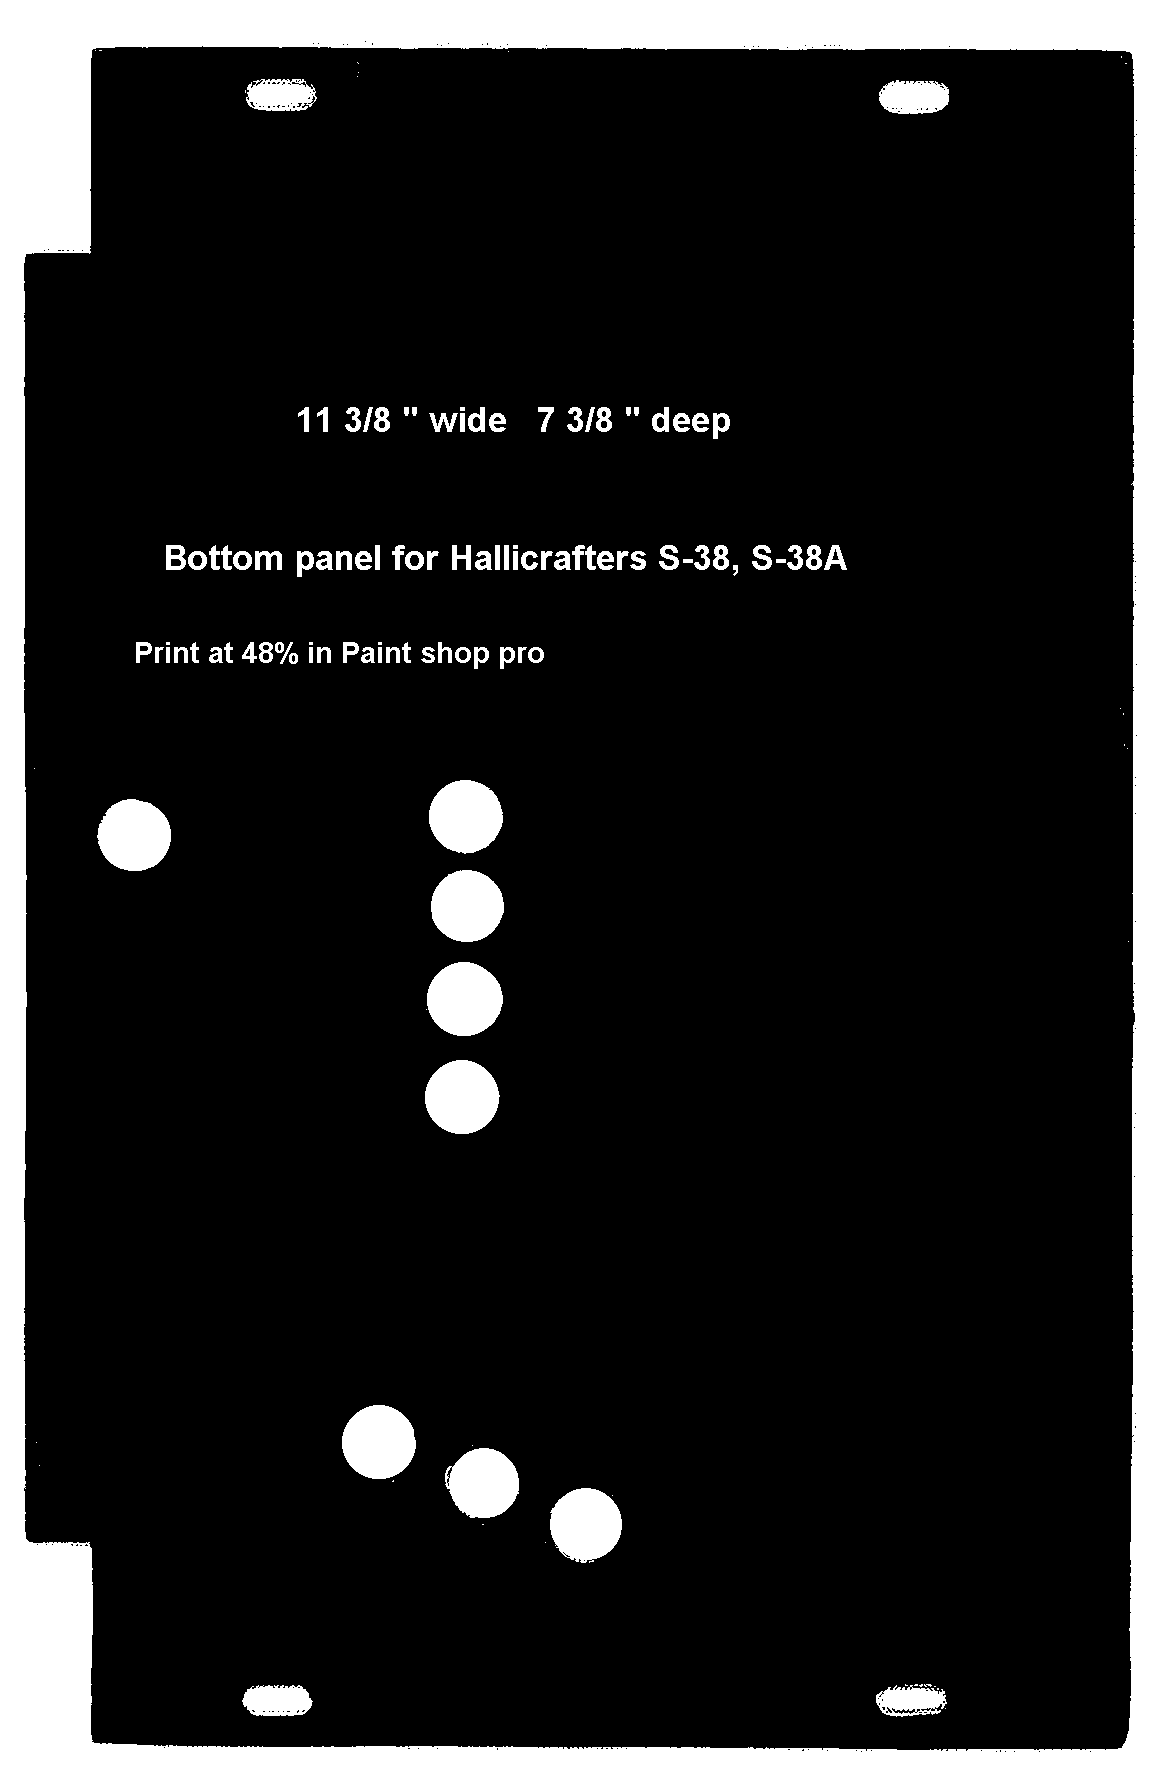
| Pictured is the pattern for the
back printed in legal paper. I was able to make the
pattern due the the generosity of W4AWM who provided
scans of the back and bottom. The cardboard is the type
used for automotive upholstery backing. I made two
punches for the two oblong holes. The punches are made
from electrical conduit and pipe caps. The standard
punches are for the mounting holes and the line cord
hole. I glued the paper patter to the cardboard with
rubber cement. After punching, the paper peels right off.
I did a bit of research and determined that this pattern
will work for the S-38 and S-38A. EVERY version of the
S-38 has a slightly different back! |
 |
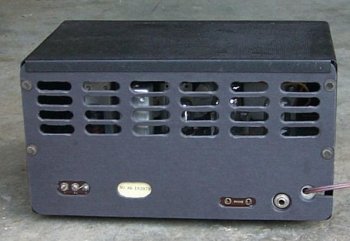 |
The reproduction cardboard back -
finally finished! My custom made punches distorted the
cardboard too much, so I made another back using a
standard round punches and a straight chisel. Once the
holes were punched, I cleaned up all the edges with a
dremel tool. The back is not absolutely perfect, but it's
reasonably good and fits very well. I punched an extra
hole for the phone jack someone installed on the rear of
the chassis. |
| |
|
top of page
S-38, S38A back
S-38, S38A, S38B bottom
S-38B, S-38C back
Bottom
label S-38, S38A, S38B
Favorite
Tube-Type Shortwave Receivers - Hallicrafters S-38 and S-40 Dxing.com web page with a picture and specs.
Hallicrafters Model S-38 Part of Phil Nelson's outstanding site. Includes a
brief S-38 history and his restoration of an S-38.
Adding an S-meter to an S-38 A great page with enough detail to do the job
right! Also on Phil Nelson's site.
Hallicrafters S-38
Antique Scientific Instruments site. A good
picture and brief history of the S-38
Hallicrafters S-38 series Several pictures showing evolution of the
S-38 through S-38E
Hallicrafters S-38 1946 Catalog 1st page Part of the huge Hallicrafters photo archive
at http://www.w9wze.org/
Hallicrafters S-38 1946 Catalog 2nd page Also from the Hallicrafters photo archive at
http://www.w9wze.org/
The
Boat Anchor Manual Archive -Hallicrafters page Free service information and owners manuals
includes S-38 to S38E.
Nostalgair on-line schematic for S-38
JA1VBN's S-38 & S-38 clones receivers A Japanese page- much of the information is
in English
Echophone Commercial EC-1 A/B A page on the predecessor to the S-38 - Japanese
page with interesting info.
WA1KPD's page on his S-38
Skywaves S-38 picture and Description You have to page down a ways to get to the S-38.
Interested in Hallicrafters
equipment? Be sure to check out the Hallicrafters
web site.
All content copyright Stan Watkins 2001 unless
otherwise noted.